
INTRODUCTION
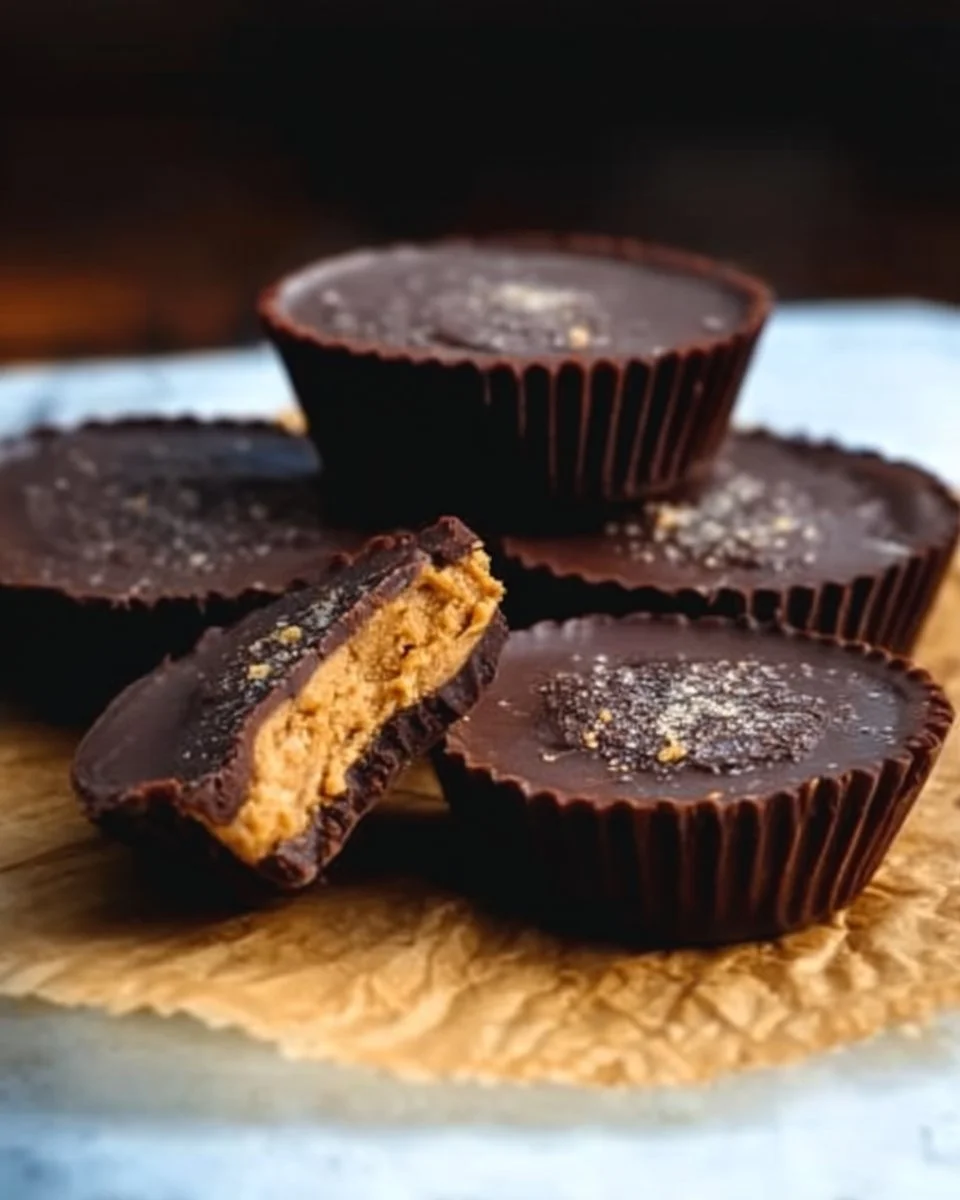
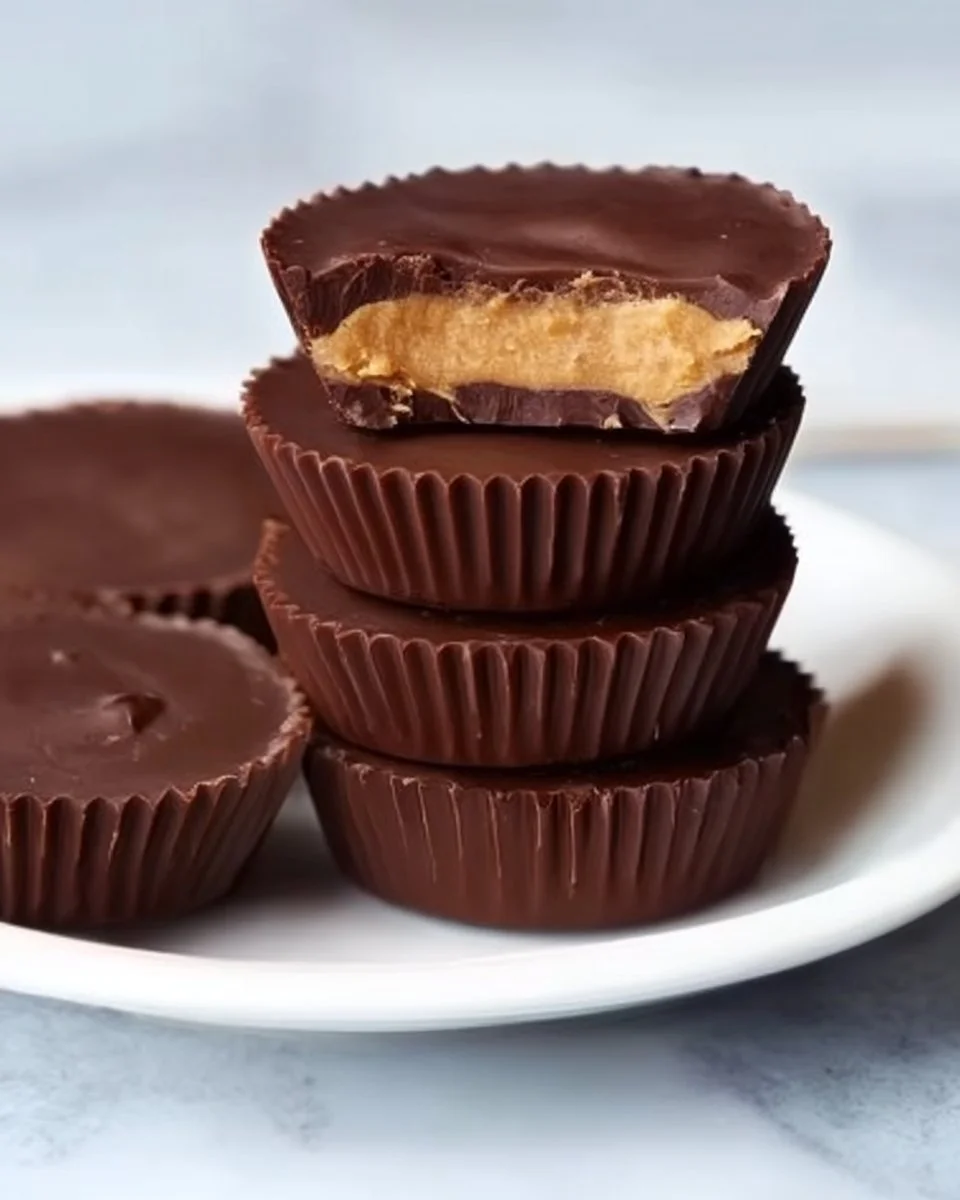
Better Than Reese’s Peanut Butter Cups are small treats with a soft peanut butter center and a smooth chocolate shell. They taste like the store candy but fresher and richer. You can make them at home in a short time. You only need a few simple things and a little patience. If you want a sweet bite to share, this recipe fits the bill. If you enjoy rich chocolate cups, you may also like the recipe for espresso peanut butter truffles for another easy peanut butter treat.
WHY YOU WILL LOVE THIS RECIPE
You will love these cups because they are quick to make and taste fresh. The peanut butter center is soft but firm. The chocolate top and bottom give a nice snap. You control the sugar, salt, and type of chocolate. You can use milk, dark, or a mix. You can make them big or small to fit your mood. They store well and make great gifts. The recipe is also easy to change to fit your pantry and taste. If you need a warm chocolate drink to go with them, try a simple idea like chocolate hot cups for a warm match.
HOW TO MAKE Better Than Reese’s Peanut Butter Cups
This recipe uses a soft peanut butter dough center and melted chocolate. You will shape the peanut butter, set it in chocolate, and chill until firm. The steps are clear and easy. Read the full steps in the STEP-BY-STEP INSTRUCTIONS section. For a savory meal to serve before these sweet cups at a party, consider a main dish like autumn butternut squash and Italian sausage casserole for a full menu idea.
EQUIPMENT NEEDED
- Microwave-safe bowl or double boiler for melting chocolate.
- Small bowl to mix the peanut butter and sugar.
- Measuring cups and spoons.
- Spoon or small scoop to portion filling.
- Muffin tin or mini muffin tin and paper candy cups.
- Spatula or spoon for spreading chocolate.
- Refrigerator space to chill the cups.
Ingredients You’ll Need :
1/2 cup peanut butter (or any nut butter like almond butter (125g)), 1 Tbsp. of softened butter (optional (15g)), 1 cup powdered sugar (added gradually, may need a little more or less (125g)), 1 cup milk chocolate (a combination of chocolate bars and chocolate chips, or use candy melts (175g)), 1 cup dark chocolate (a combination of chocolate bars and chocolate chips, etc (175g)), 1/2 tsp. salt (2g)
STEP-BY-STEP INSTRUCTIONS :
In a medium bowl combine the peanut butter, salt, and softened butter.
Gradually add the powdered sugar until it comes together and forms a dough with a "playdough" consistency. You should be able to form it into a disc without it sticking to your fingers.
Melt your chosen chocolate in the microwave using bursts of 25 seconds, then stir, 25 seconds then stir, until it is melted. Or use a double boiler which consists of a small pot of water, and a metal larger bowl resting on top. Place the chocolate in the metal bowl and turn the stovetop on to medium. The steam from the hot water will heat the bowl melting the chocolate.
Fill the bottom of each paper cup with some chocolate. Then form the peanut butter mixture into discs and place those on top of the first layer of chocolate.
Pour a top layer of chocolate creating the peanut butter cup. Once all are filled, place the pan in the fridge to allow the chocolate to set. It only takes 20 to 30 minutes. Now enjoy! Very easy right?
HOW TO SERVE Better Than Reese’s Peanut Butter Cups
Serve these cups cold or at room temperature. If you keep them in the fridge, let them sit five minutes at room temperature before you eat them so the chocolate softens a bit. Place them on a small plate or a dessert tray. You can add a light dusting of cocoa powder or a small pinch of flaky salt on top of the chocolate for a nice contrast. For a party, arrange them with simple cookies and fresh fruit so guests can choose a sweet bite. For a cookie idea to pair on a holiday tray, you might enjoy trying Christmas gooey butter cookies as another sweet option.
STORAGE & FREEZING : Better Than Reese’s Peanut Butter Cups
To store these cups, keep them in an airtight container in the fridge for up to two weeks. Place a sheet of parchment between layers so they do not stick. You can also freeze them for longer storage. Freeze on a tray until solid, then move to a freezer-safe bag or container. They will keep well for up to three months in the freezer. Thaw in the fridge or at room temperature before you eat them. If you plan to mail them or give them as gifts, pack them in a cool box to keep the chocolate from melting.
SERVING SUGGESTIONS
- Serve with coffee, tea, or cold milk.
- Offer small plates with two or three cups per person.
- Pair the cups with small fresh berries for a light contrast.
- Use them as a topping on ice cream or as a mix-in for a dessert plate.
- Add a small fork or wax paper square so guests can pick them up without touching other pieces.
VARIATIONS
- Use natural peanut butter for a more peanut-forward taste. Add a touch more powdered sugar if needed.
- Swap peanut butter for almond or cashew butter for a nut change.
- Add a thin layer of jam or jelly between the peanut butter and chocolate for a peanut butter and jelly version.
- Mix a small pinch of cinnamon or vanilla into the peanut butter dough for warm flavor.
- Use white chocolate for the top layer and sprinkle crushed nuts on top before the chocolate sets.
- Make them spicy by adding a small pinch of chili powder or cayenne to the chocolate for an adult treat.
FAQs
Q: How do I melt chocolate without burning it?
A: Use short microwave bursts and stir between each. Stop when most is melted and stir until smooth. Or use a double boiler and stir over warm steam. This keeps the chocolate from burning.
Q: Can I use crunchy peanut butter?
A: Yes. Crunchy peanut butter adds texture. If you use crunchy, the dough may feel a little less smooth but it will still work fine.
Q: Do I need to use butter in the filling?
A: Butter is optional. It makes the center a bit softer and richer. If you skip it, use a little more peanut butter or adjust the powdered sugar.
Q: Can I make these sugar-free?
A: Yes. Use a sugar-free powdered sweetener made for baking to replace the powdered sugar. Taste as you go to get the right texture.
Q: Why did my chocolate bloom after I stored the cups?
A: Bloom looks like white streaks. It happens when chocolate changes due to heat or humidity. The cups still taste fine. To avoid bloom, store them cool and dry and try tempering the chocolate.
Q: Can I double the recipe?
A: Yes. You can double or triple the recipe. Use a larger bowl and a bigger pan to hold all the cups. Make sure to melt chocolate in batches if needed.
MAKE-AHEAD TIPS FOR Better Than Reese’s Peanut Butter Cups
You can make the peanut butter discs ahead and keep them in the fridge for a day or two. Wrap them in plastic so they do not dry out. You can also freeze the discs on a tray and store them in a bag for up to one month. Melt the chocolate and assemble the cups when you are ready. If you need fully finished cups ahead of time, make them and keep them chilled in an airtight container. They travel well if you keep them cold. For a quick party prep, make the centers one day and do the chocolate step the next day.

Better Than Reese's Peanut Butter Cups
Ingredients
Method
- In a medium bowl, combine the peanut butter, salt, and softened butter.
- Gradually add the powdered sugar until it comes together and forms a dough with a 'playdough' consistency. You should be able to form it into a disc without it sticking to your fingers.
- Melt your chosen chocolate in the microwave using bursts of 25 seconds, then stir, repeating until it is melted. Alternatively, use a double boiler to melt the chocolate.
- Fill the bottom of each paper cup with some melted chocolate.
- Form the peanut butter mixture into discs and place those on top of the first layer of chocolate.
- Pour a top layer of chocolate to create the peanut butter cup.
- Once all cups are filled, place the pan in the fridge to allow the chocolate to set, which takes about 20 to 30 minutes.